Seed Saving
Saving seed keeps varieties alive, customises seeds to thrive in the local environment, connects growers and saves money! We asked Jackie Swanson, lead horticulturalist at Squash, to share her knowledge and top tips to get you started.
Squash Liverpool established The Toxteth Seed Library in 2013 and have been saving seed on Windsor Street L8 since then, mainly saving seed from the Grapes Community Food Garden, The Seed Library Garden and the Squash Café Garden.
Each year we hold a Seed Share in February and a Seed Save in September, where we invite local growers to swap / share their seed and help us to clean, pack and stock the library. To find out more about upcoming Seed Saving events please visit www.squashliverpool.co.uk
It is illegal sell seed without having a licence and registering the seed with the Government Animal and Plant Health Agency (APHA). Seed Libraries and Exchanges can get round this by sharing, swapping and receiving donations for their seeds.

Seed saving tips ….
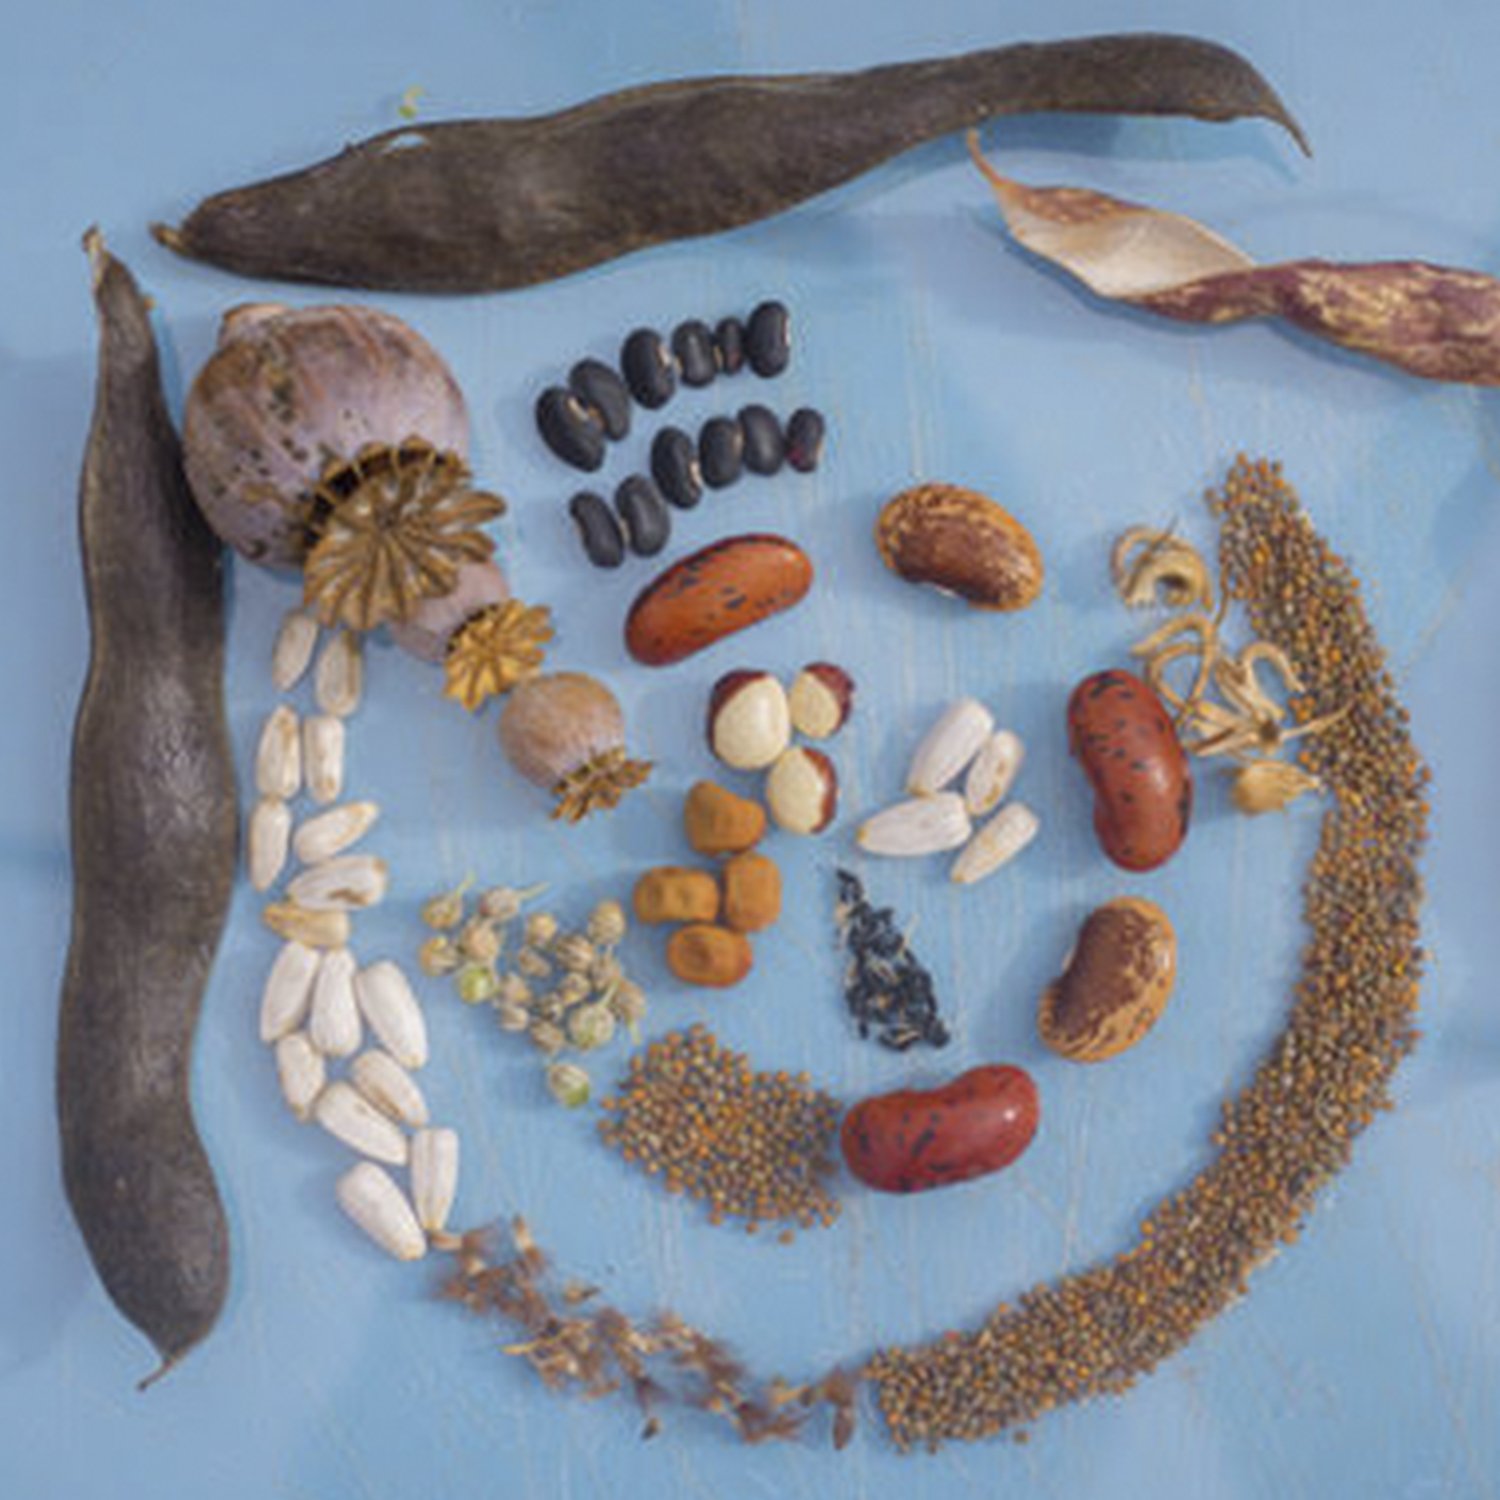
There is a real science to saving seed and it is important to understand which plants can cross pollinate, so it is advisable to stick to Heirloom, Open Pollinated and Organic varieties to save seed from. F1 Hybrids are plants that have been cross pollinated / bred for disease resistance, vigour, shape etc. If you save seed from a F1 plant and grow it to save seeds from, the new generation will not come true, it will resemble one of its parents.
Choose strong plants, treat them well and let air circulate around them.
If you are in a shared space, it is advisable to let others know which plants you are planning to save seeds from.
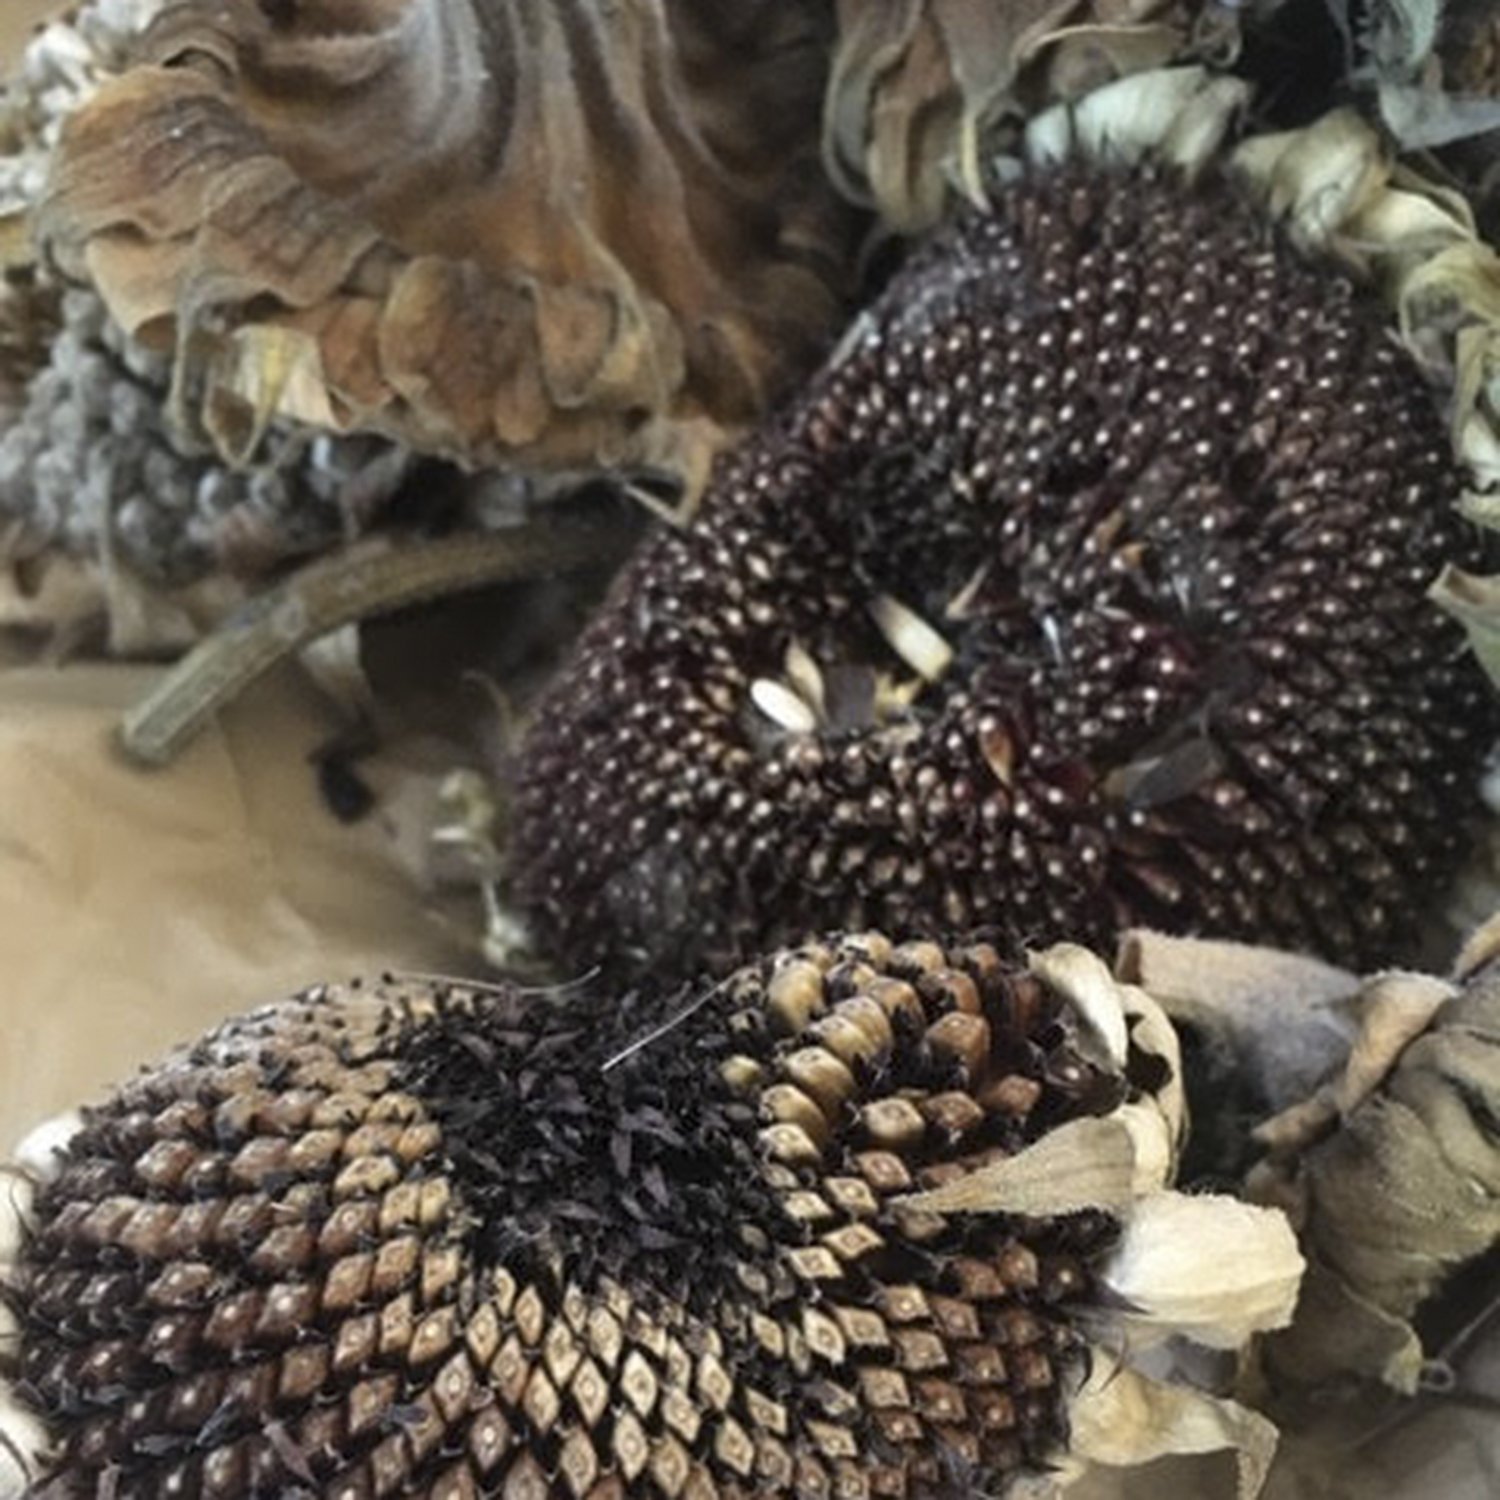
Collect seed when it has not rained for a few days and the plants are dry. Allow the seed heads to ripen naturally on the plant. When fully formed and dry, cut the branch or the individual seed heads into a paper bag. Allow the other seeds to mature on the plant until ready.
If the plant has fine seeds with a majority that are ripe and dry but some still need maturing, you can pull up the whole plant or cut at the main stem, hang it upside down in an airy dry space and place a large paper bag over the seed heads to catch them as they naturally dry.
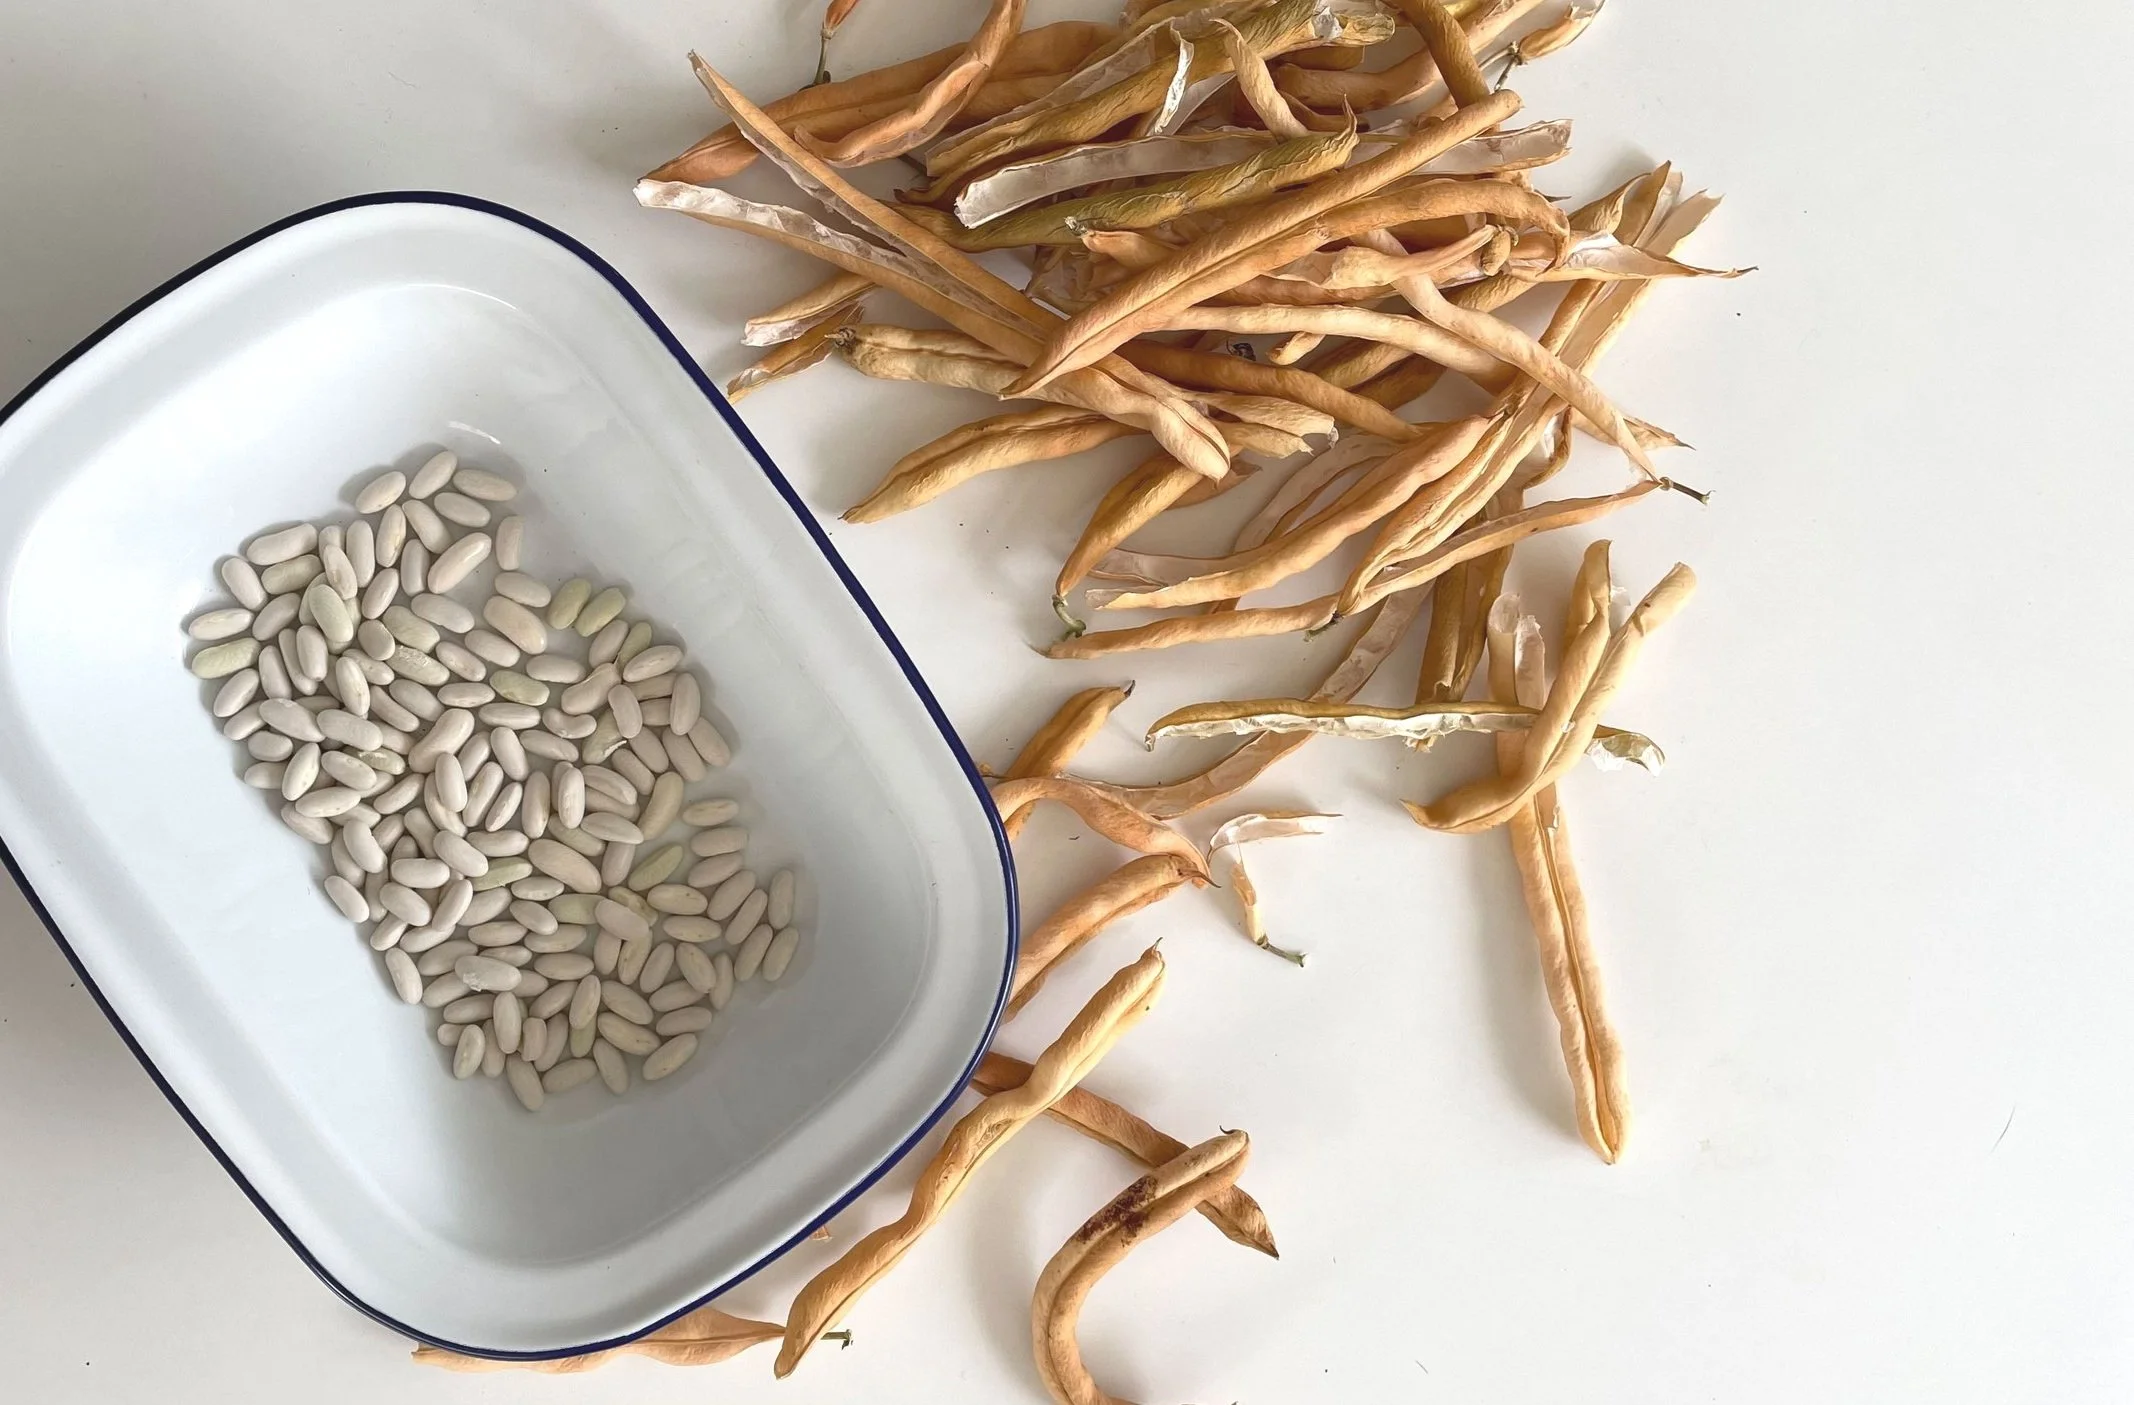
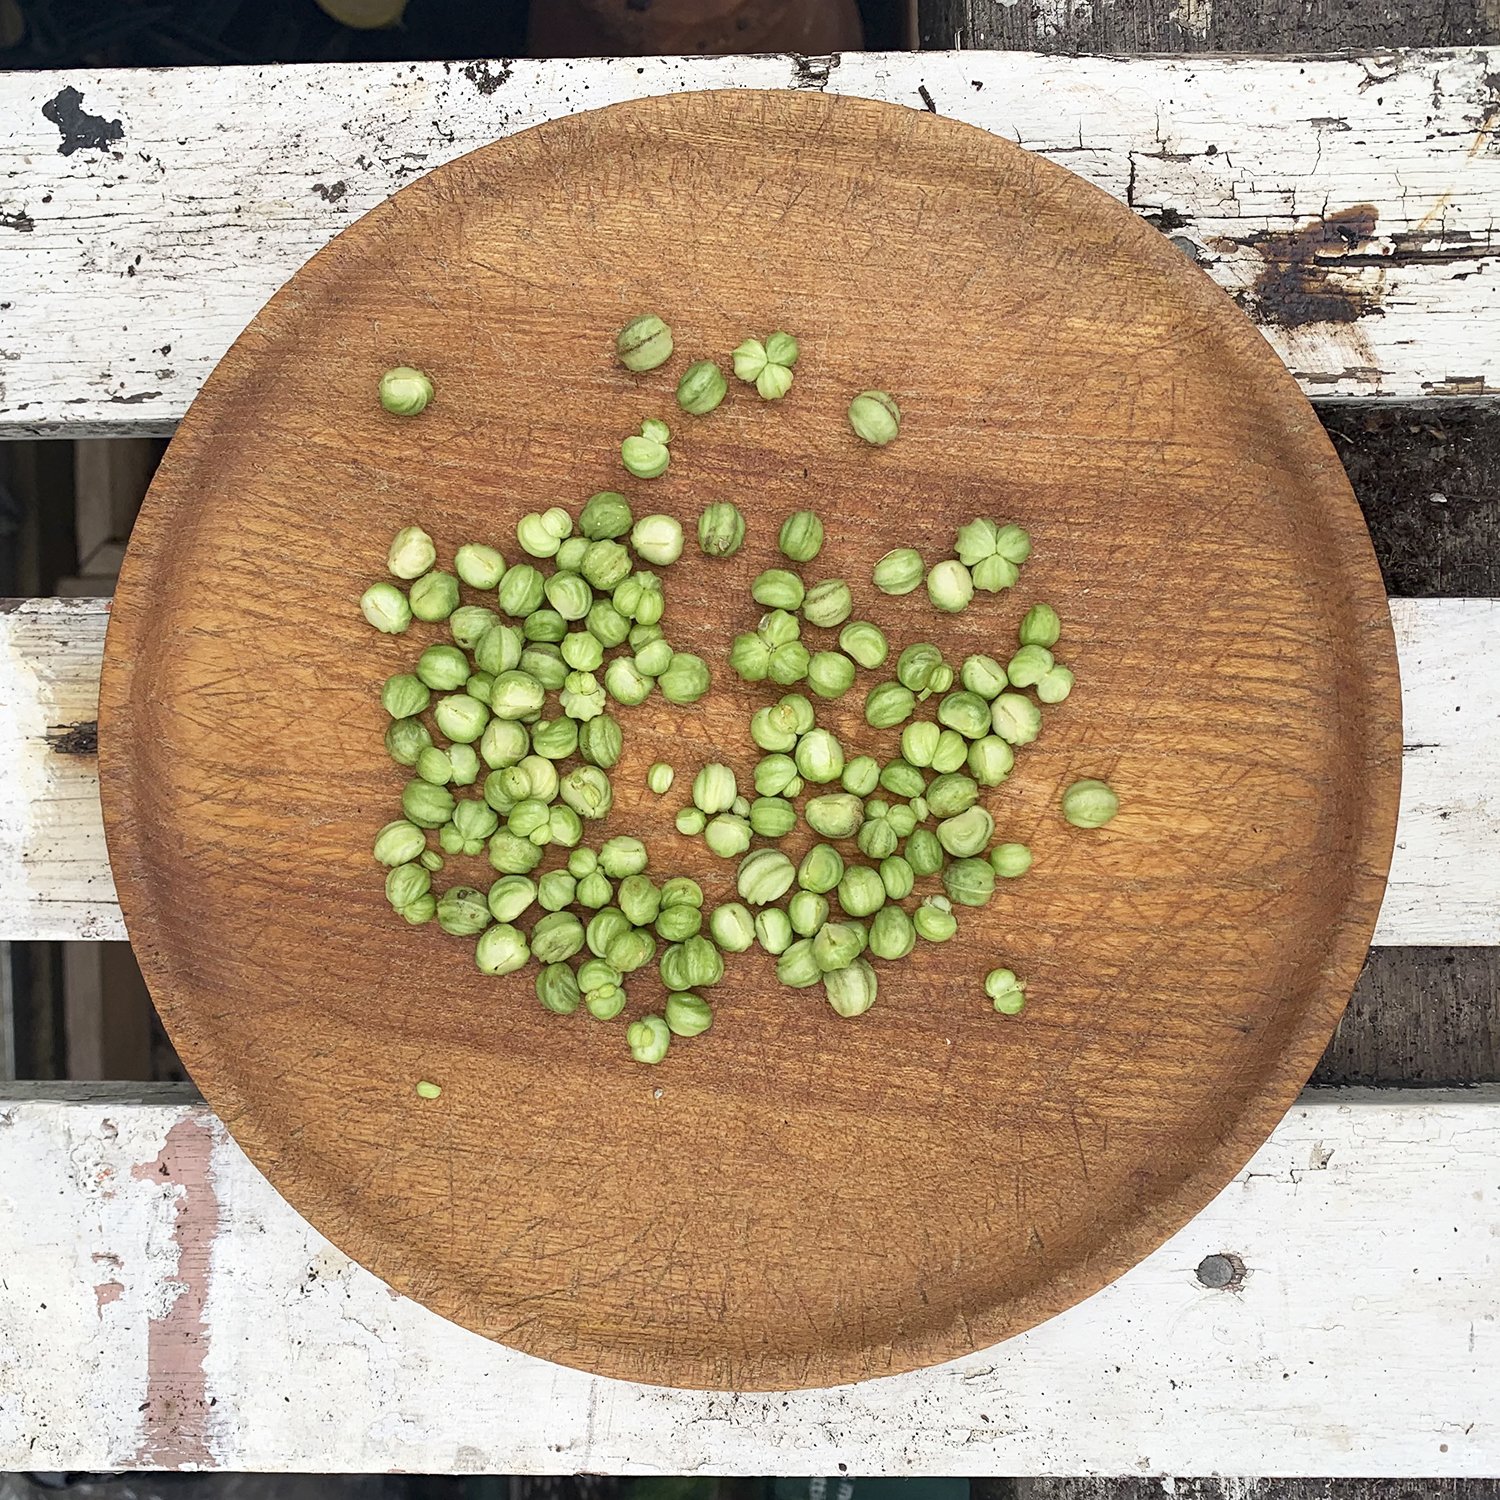
Peas and beans are best left to mature and dry on the plant. Collect and then shell from their pods and store.
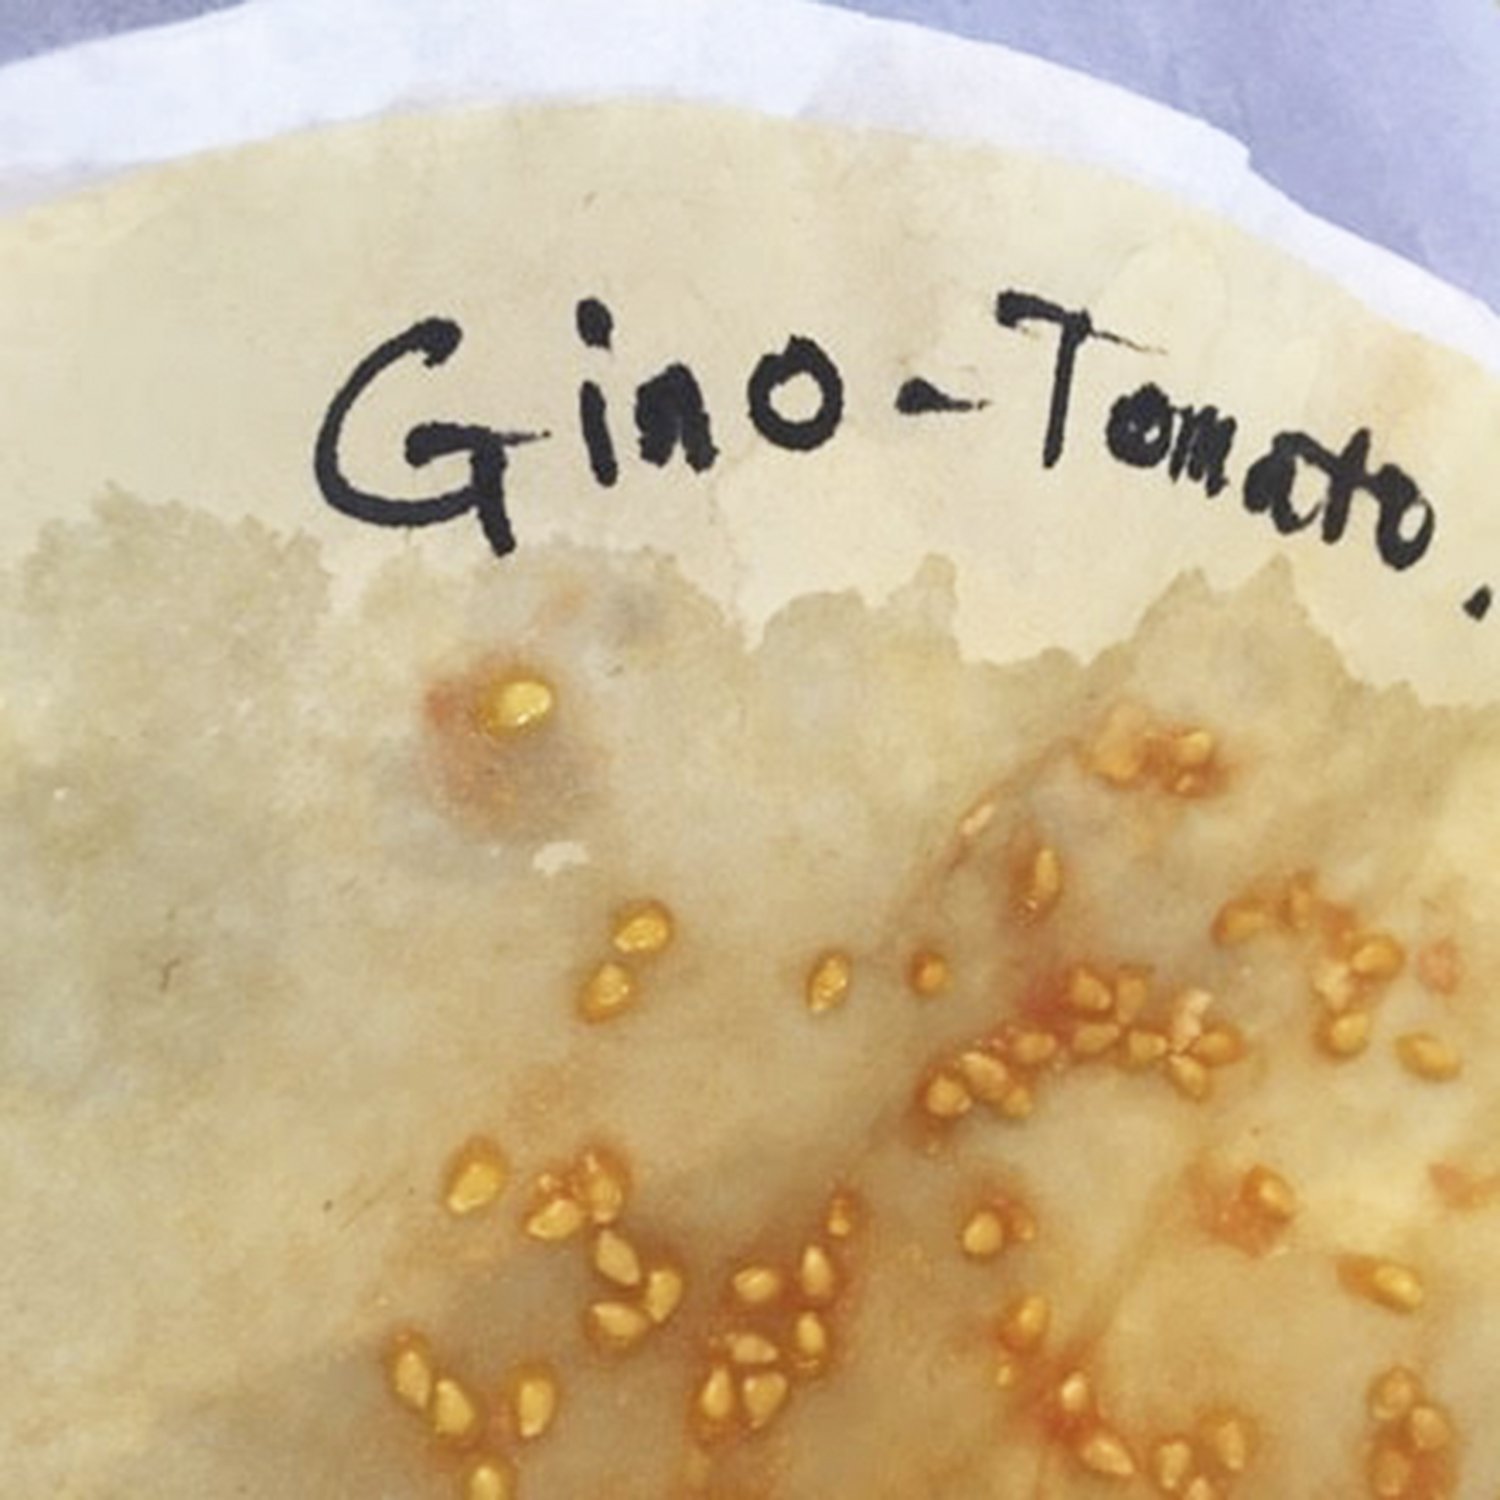
Tomato seeds can be squished on to coffee filters and peeled off when dry
When totally dry the seeds need to be cleaned from their stems, pods and husks. Watch out for insects and mould. Always choose the largest healthiest looking seeds. Very small seeds can be sieved using various sizes of mesh, and very fine chaff can be blown away from the heavier seed. Manually pick out larger seed and save the reject seeds for the birds.
Once cleaned store the seeds in a clean airtight container and label them by name and date (it is really easy to get seeds mixed up!). Store the containers in a cool, dry, dark place. When you are ready, pack your seeds in envelopes or seed packets and label correctly.
Seeds are most fertile when fresh, the percentage of germination reduces over time. However, some varieties of seeds can stay viable for years. If in doubt do a germination test by placing the seeds on a moist tissue in a plastic bag, store in a warm dark place and check for germination.
Happy Saving and Sharing!